

So, recently my shoe hanger broke. I was going to buy a new one, but I thought 'Hey, why not just make one?'. So I did. If you want to see how just keep reading.

I took my broken hanger and laid it over some fabric, then cut a piece the right size.

And then used that as a pattern to cut out another one.

Then using the broken hanger as a pattern, I cut out 6 rectangles of fabric (they are 40x10in).
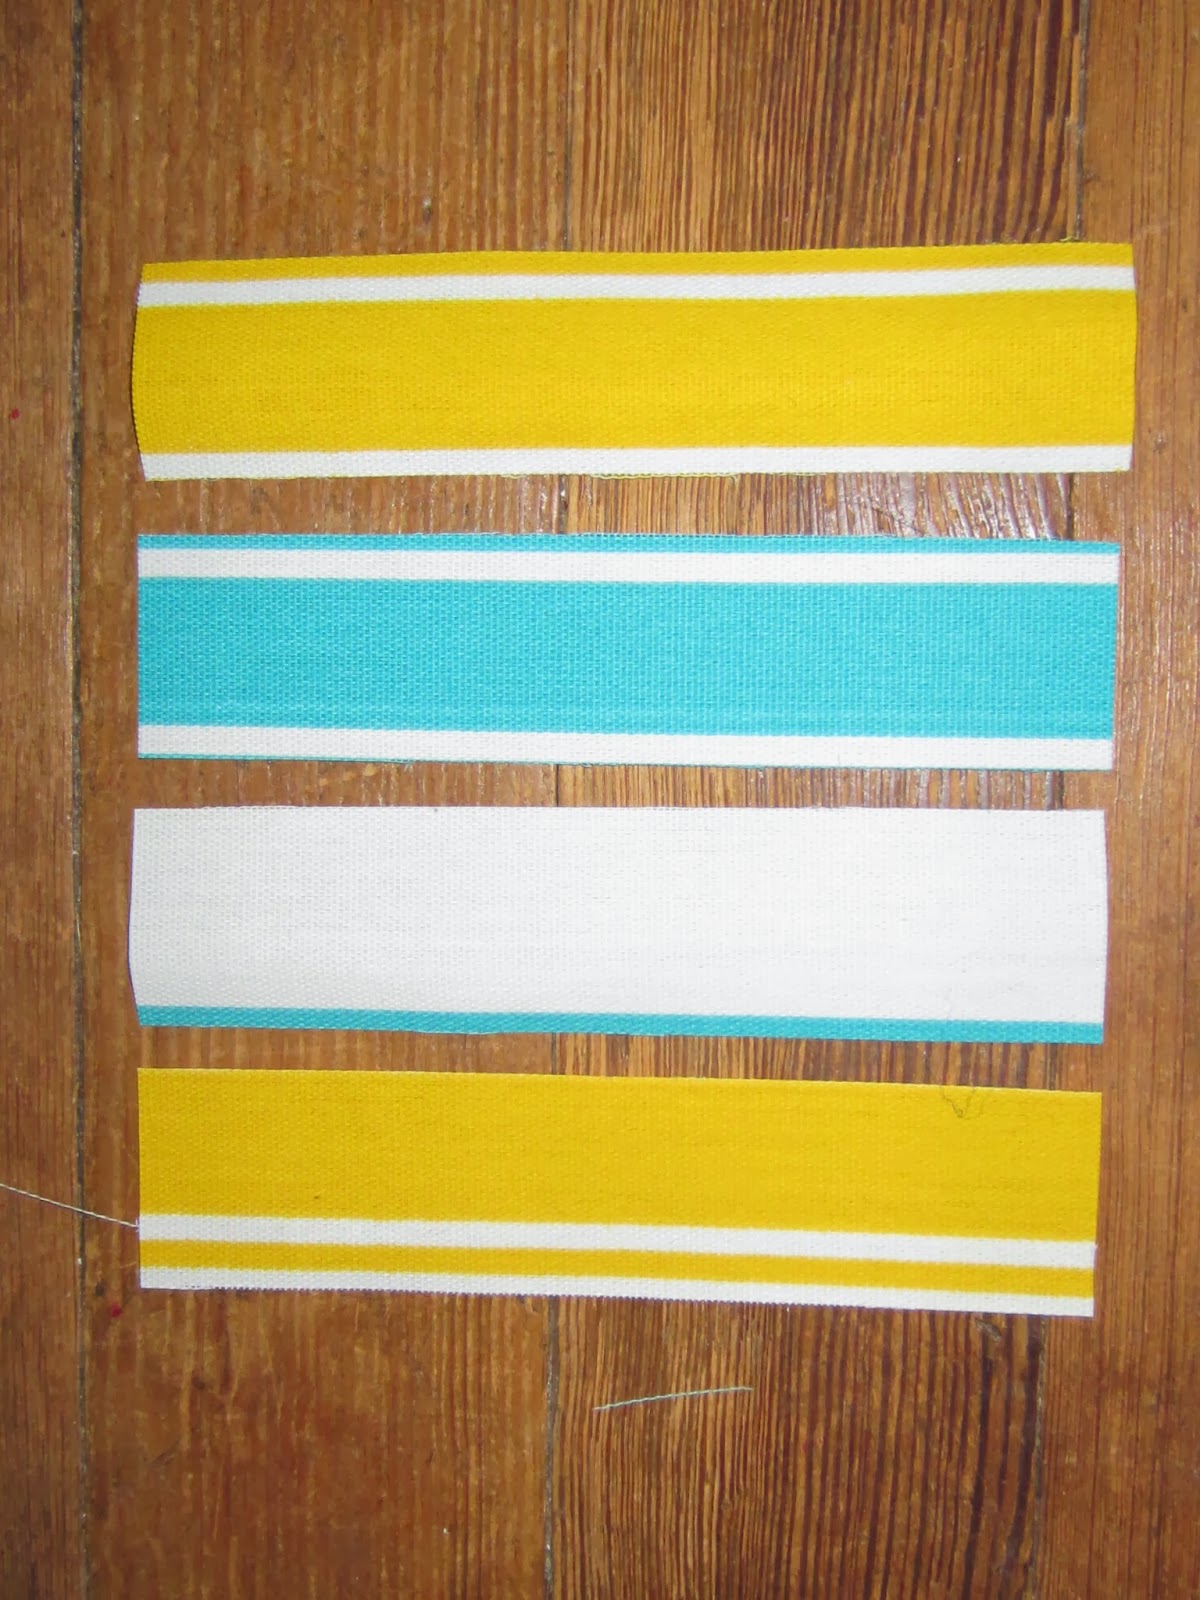
Then 1in thick strips of fabric, for the loops (that go on the hooks).

I folded them in half and serged them.

I then serged 1 edge of each of the 6 rectangle I had cut.

On the other end I marked the fabric like so. (Since the rectangle are 40x10in, this will be repeated 4 times .)

Then I folded and pleated the fabric like so.


You can see here how the pleats are folded inward on the back of the fabric.

Once I got all the pleats pined, I serged them down. (You could always just sew with a standard machine)

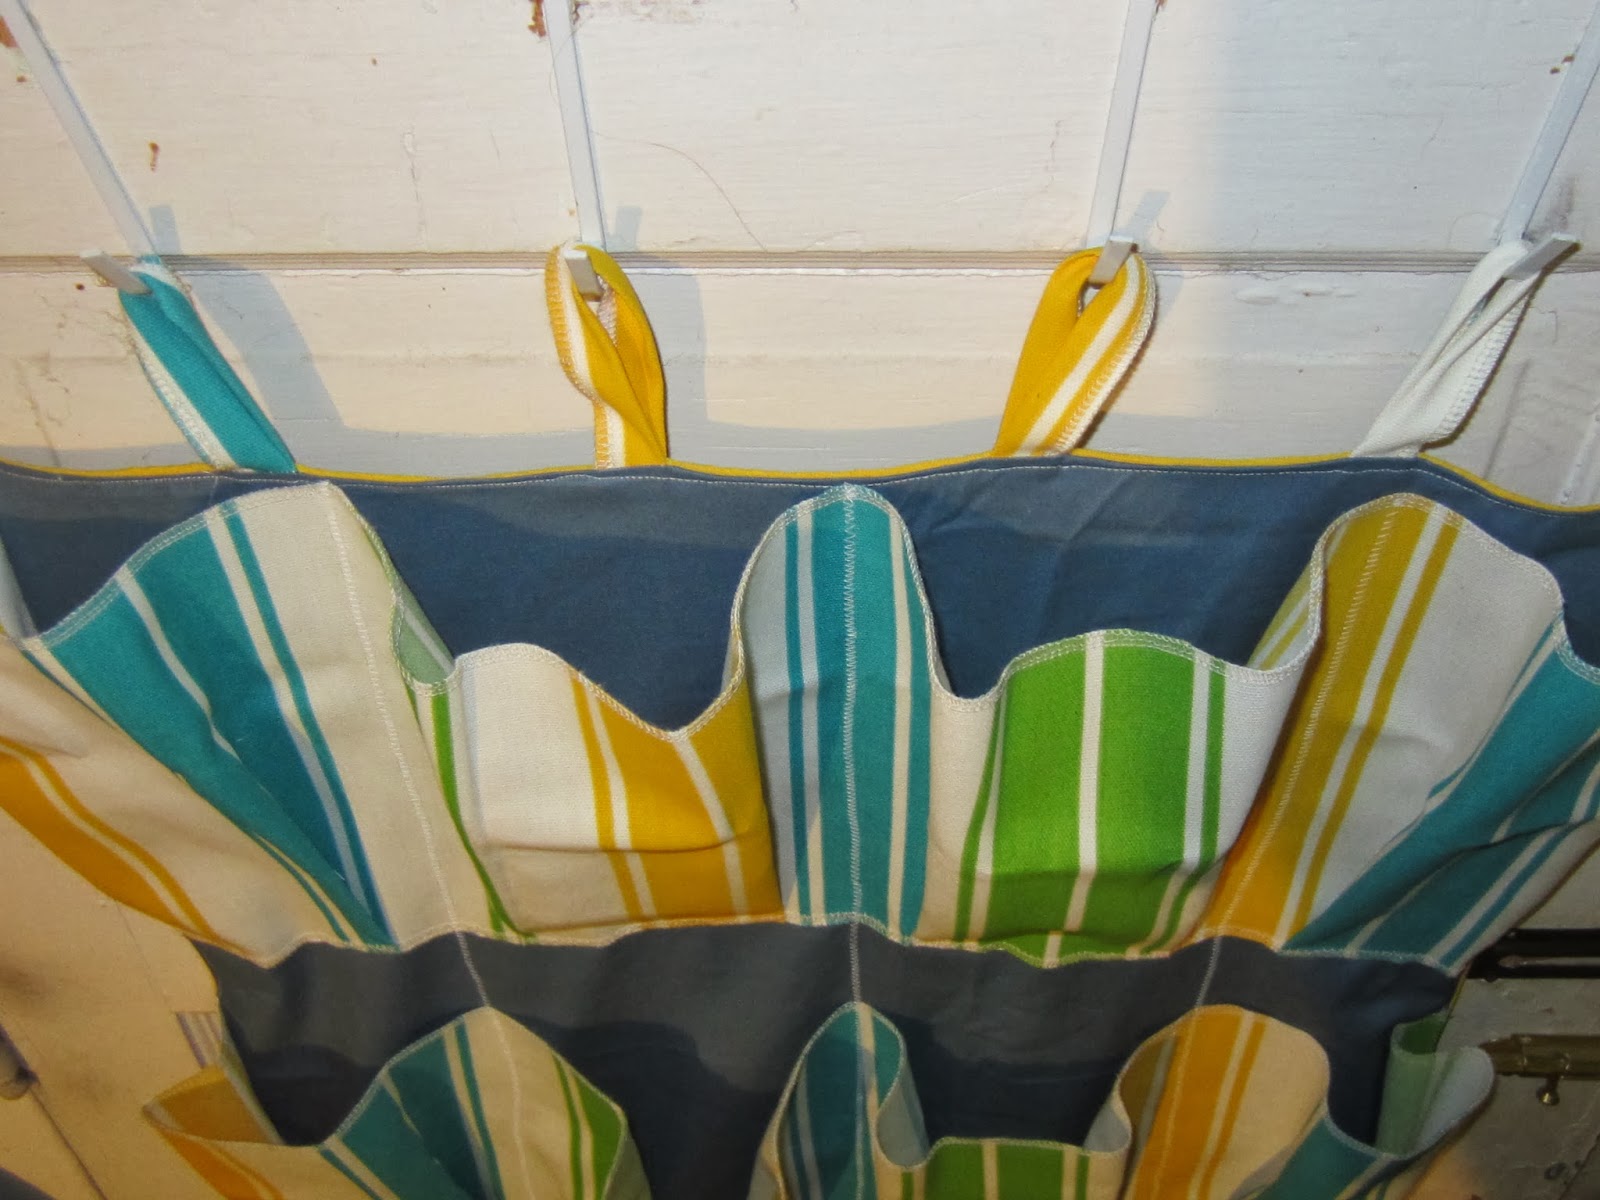
Then I laid them equal distance apart on one of the large fabric pieces, pinned, and sewed.


You can see from theses pics that I used a zigzag stitch.

Once their all on...


Pin the 4 loops at the top, equal distance apart.

Then I laid the other large rectangle over the whole thing...

...pinned...

...and sewed, leaving a gap at the bottom for turning later. Also, I cut the corners, so they would be more square, when turned right side out.

Then turn it right side out.

And top stitch the opening, as well as all the way around.

Then I pinned the fabric down with 3 lines of pins equal distance apart.

And sewed along the lines, using a zigzag stitch.
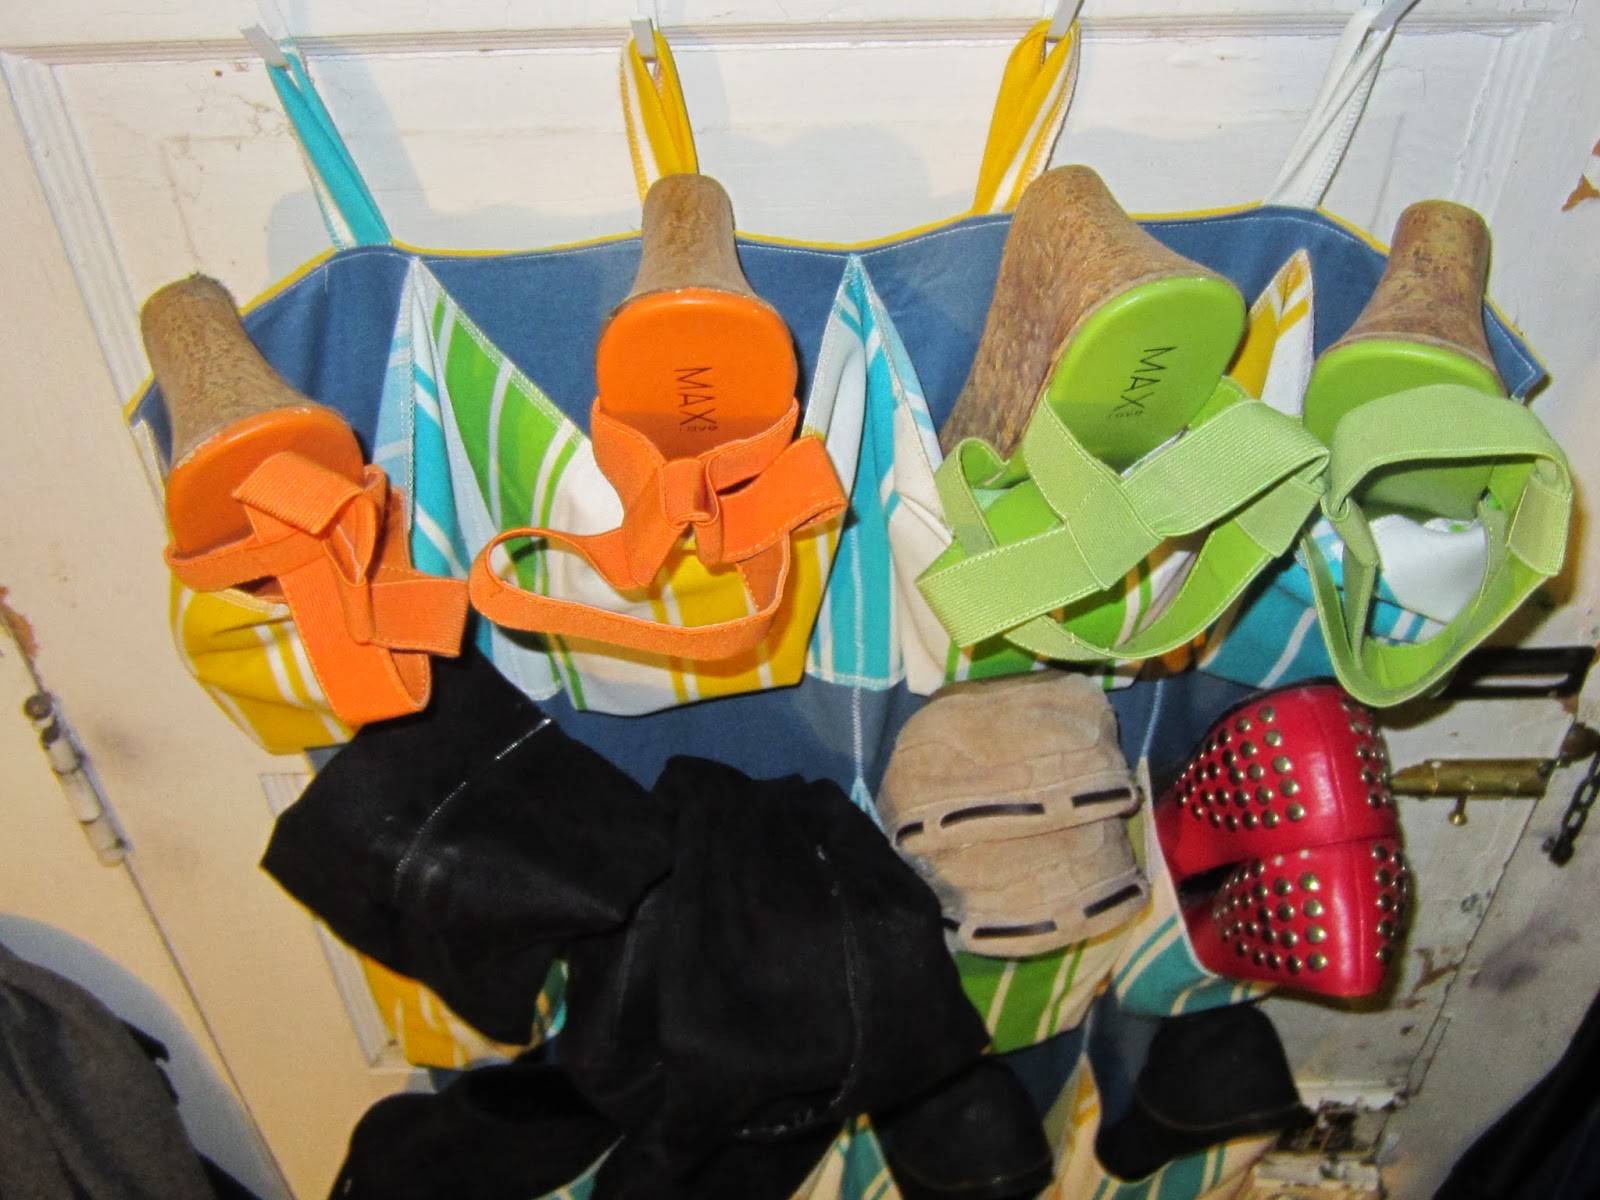
And it's done!

Hang that sucker up!
Not going to lie, this project took me hours! But it came out pretty well. Hope this was helpful. Have a great day!-Zoe
No comments:
Post a Comment