Friday, August 30, 2013

DIY: Girl's Pillowcase Maxi Skirt

Recently my little sister (the one seen above) asked if I could make a maxi skirt for her, out of a pillow case. I had never done it before, but I decided to give it a try. I thought it turned out pretty well and my little sister loves it! So I thought I would share how to make one. 

Okay, so first off, this is an knit material pillow case. It's also pretty long and thin, which works out because so is my sister. You could make this skirt with a cotton pillow case, just know it will look different. You can see from the picture, that I cut off the closed off end of the pillow case, and left the hem on the other end alone.

Next I cut some elastic, a little smaller than the circumference of her waist, and pined.  

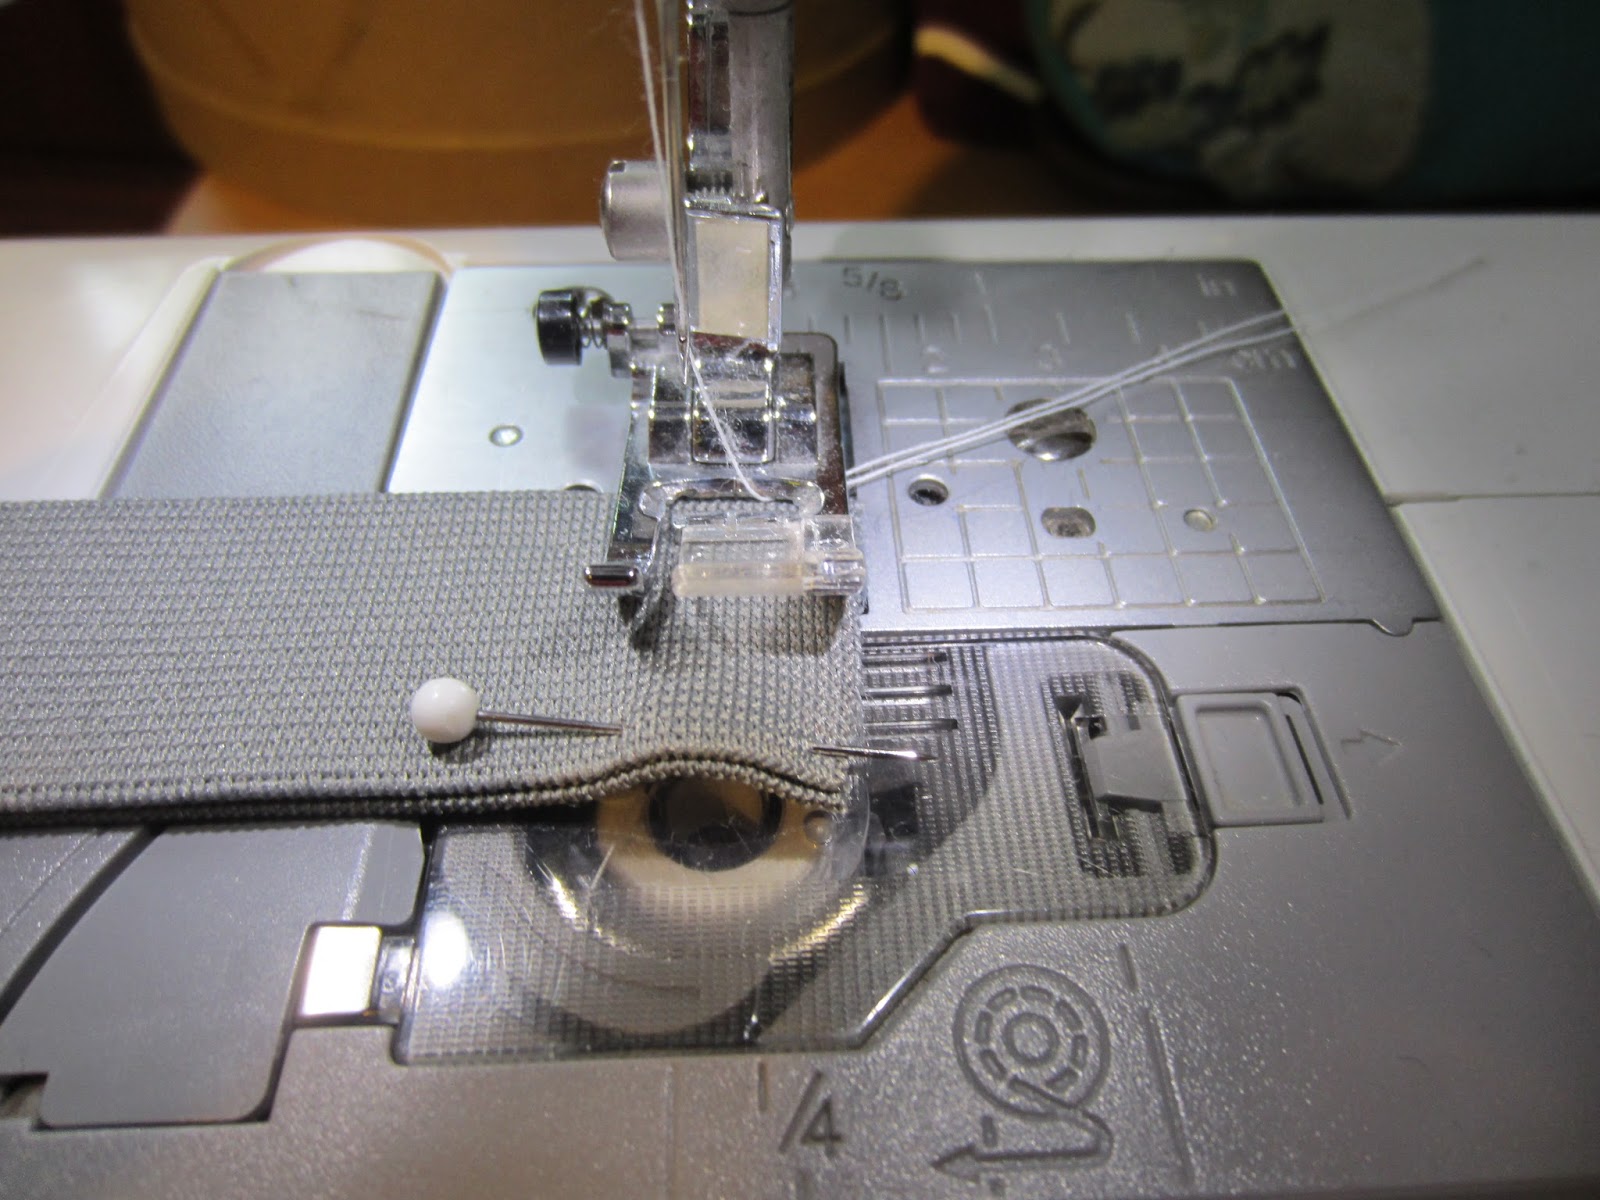
Then I sewed it up......

.....and went back over it.

Then I opened it up and...

....sewed a rectangle over it.

Next I pinned my elastic and fabric in fourths. 

And sewed around, stretching as I went.

And that's it! Pretty easy, huh? I hope you enjoyed this DIY, please like my  CuteAsACuttlefish. FB page for more updates. Have a great day! -Zoe

Sunday, August 25, 2013

OOTD: Bohemian Summer

My top was thrift-ed. 
My jeans and shoes are from Walmart.


My glasses are Kate Spade (they are prescription), and I don't remember where I got this necklace from.

Don't forget to like CuteAsACuttlefish's Facebook page!

Friday, August 23, 2013

DIY: Cotton Star Trek Skirt

Recently I found some awesome Star Trek cotton fabric, and decided to make a skirt out of it. I included pockets, and some blocking of black on the bottom.
I think it turned out pretty cool. If you want to know how I made it just keep on reading!
Here are the materials I used: cotton fabric, black accent fabric (I think it's a wool blend), and some elastic for the waist band.


I cut my main fabric into two pieces like this. You can make it as wide as you want, depending on how much volume you want in your skirt.

Then cut two pieces of accent fabric that is the same with. They can be as long or as short as you want. Note: I ended up cutting these pieces shorter in the end.  

Then, for the pockets, I cut out four pieces of fabric like this. Make sure to cut them a little bigger than you think you need. It's not a big deal if your pockets are a little roomy, but it's super annoying if you can't even get your hands in them.

I pinned both pears of fabric pieces together like this...... 

.....then sewed with a straight stitch.

After that, I sewed the edges together with a zig zag stitch. This is a good technique for finishing an edge without a serger.   

Next I ironed that seam down on the back......

......and the front, of both fabric panels.

Then I pinned and sewed the pocket pieces on.

And ironed them down as well. 

Now it's time to put both front and back panels of the skirt together and ......

.....sew them, using the same stitching from before. 

And now that the two panels are together, it's time to sew the casing at the top of the skirt , for the elastic. 

You're first going to want to fold a little bit of the edge down.

Then fold over a larger bit, using the elastic as a guide for how big to make it.

Then pin......

......and sew....

........leaving an opening big enough for the elastic. Add a safety pin to a piece of elastic that is a few inches smaller than the circumference of your waist, and thread it through.  

Then pull it out, pin, and.....

....sew a box with an X going through it.

Next pin the opening closed and (you guessed it) sew.

Now for the bottom hem. I'm finishing off the hem with a zig zag stitch.


Then ironing, about an inch of fabric, down.

Then pin and......


.....sew the crap out of that hem.
 *Phewf! That was a long blog post! But it was worth it.  

You can wear this skirt low waisted, for a more casual look......


.......or high waisted, for a little more dressiness.   


I hope you enjoyed this skirt sewing DIY. Please keep checking in! You can also follow me on Etsy (through the link on the left) or on FB Cute As A Cuttlefish Facebook page. Have a great day!