

So this is a shirt I recently sewed, and it turned out great! Well I think so, anyway. If you want to know how I did it, just keep scrolling.
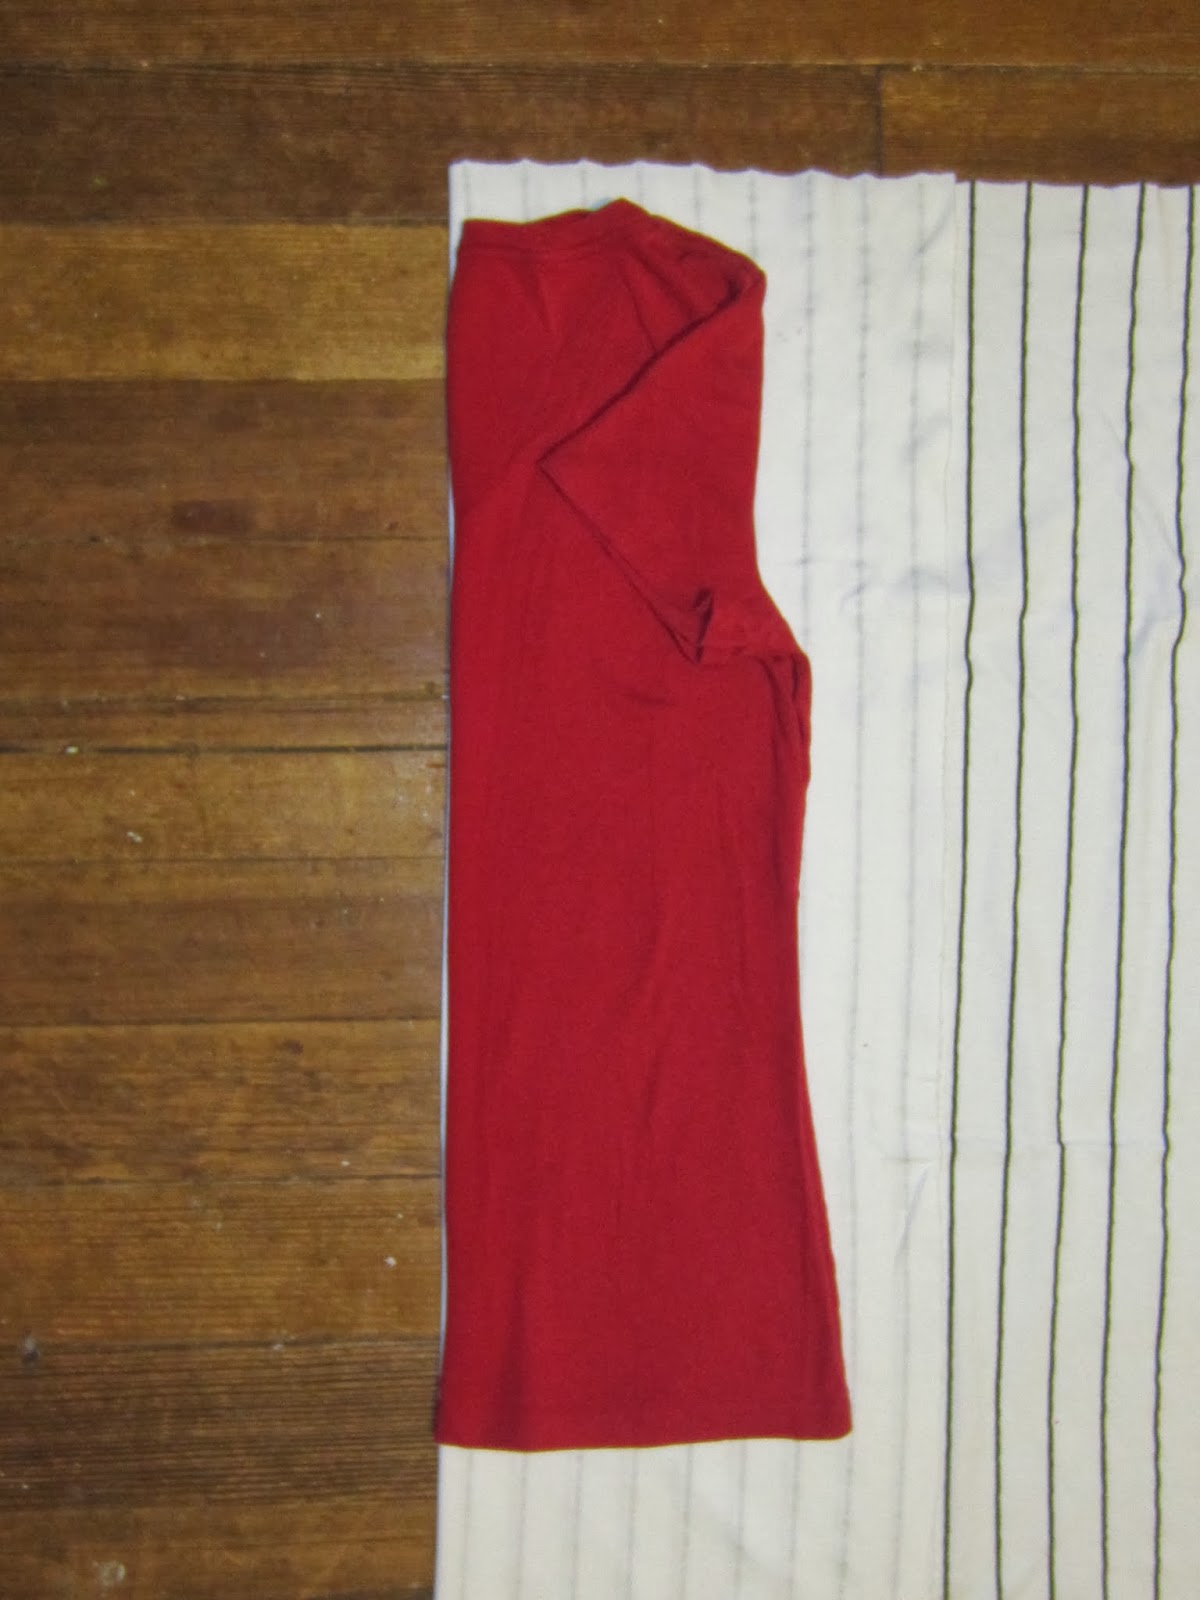
First I found a shirt that fits me well. I folded the sleeves over, and used that to get my front and back pieces.

Cut one with a higher neckline, and a lower neckline.

I later made the neck a little wider than this.

Pin and sew the shoulder seams.

I used my serger for this project, but it would also work with a zigzag stitch.

To cut the sleeve pieces, I took a measurement of the arm hole...

...and matched it to the curve of the sleeve.

Here is what they will look like. I later cut them a little shorter.

Next, I pinned the sleeves, and sewed.

Then sew up the side and the sleeve. Repeat.

Then, on the sleeve, I sewed a rectangle using a small zigzag stitch.(I know it looks messy) You will want to try your shirt on to see where you want the thumb holes. Or just leave then out, if you want.

Then cut it out.

Now I cut out 5, 2in wide strips, for finishing the edges. The length will depend on the measurements of the shirt.

I sewed two of them together for the bottom, then folded the rest over and sewed, for the neck, and sleeves.

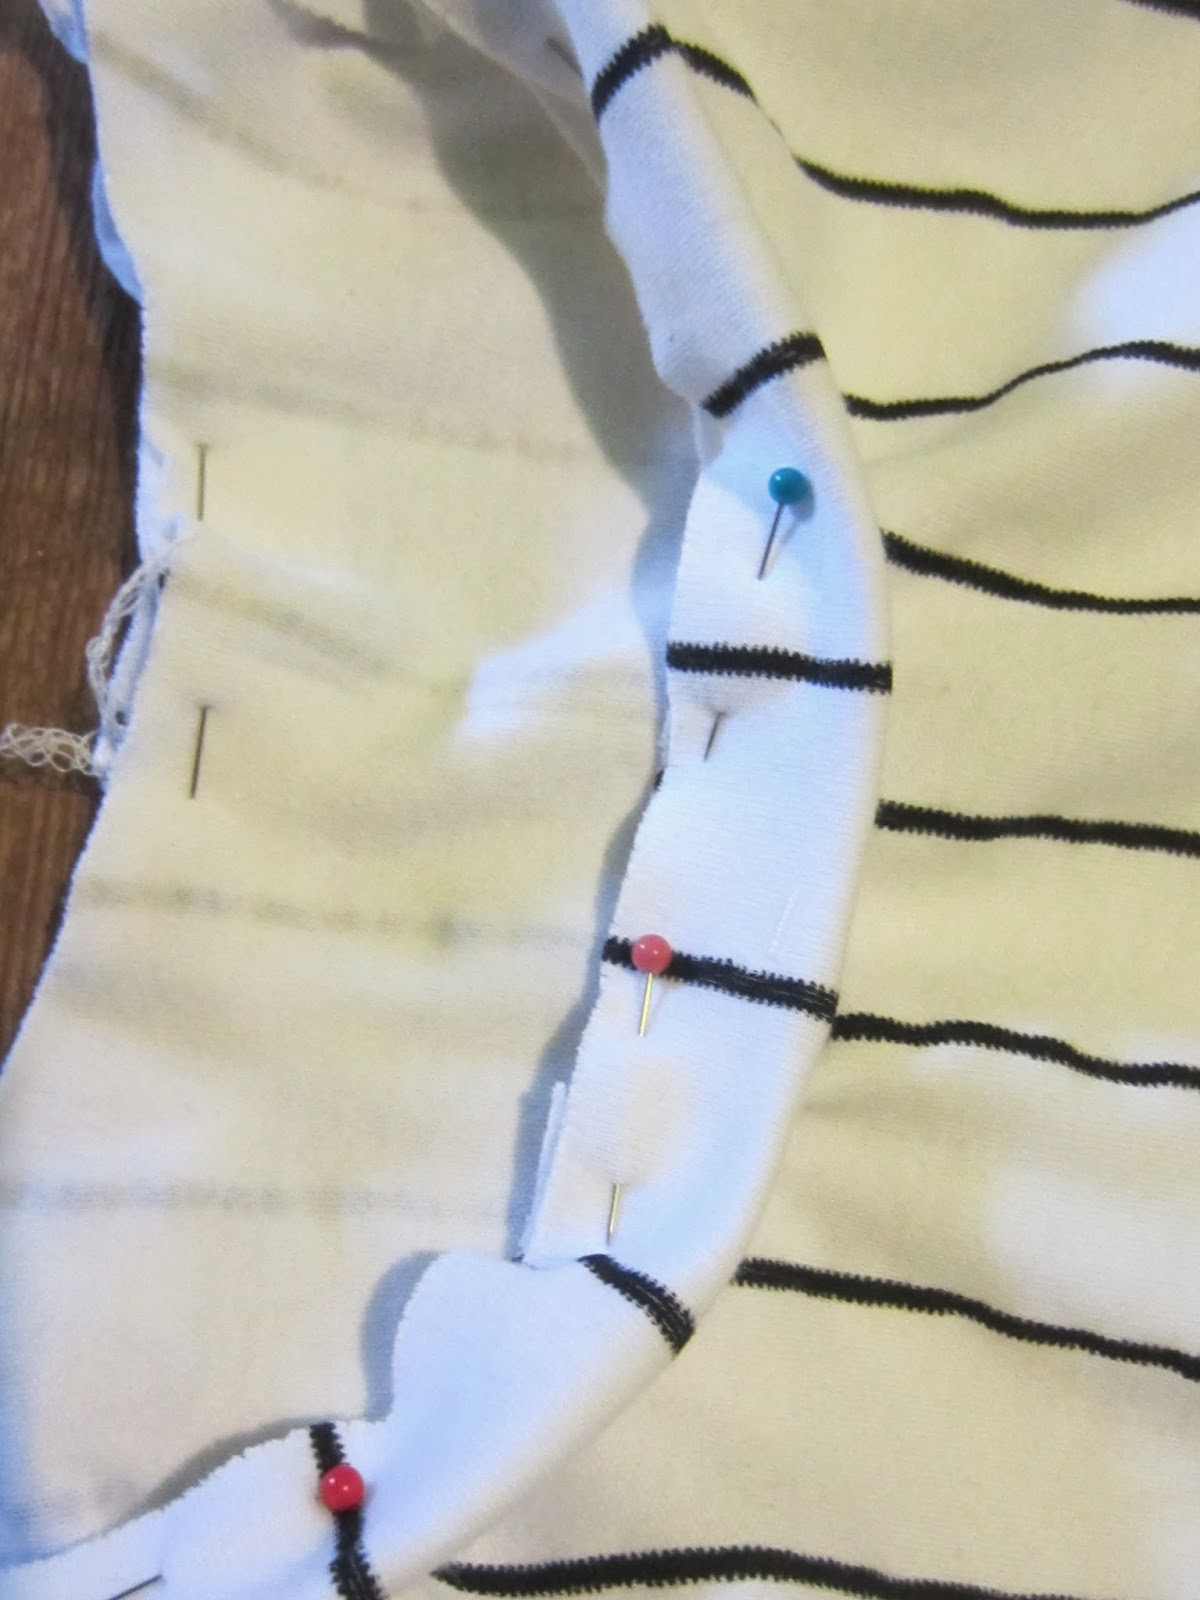
Then I pinned and sewed, as seen in the picture.

And that is it! Pretty cute right? Hope you've enjoyed this post. Have a great day!-Zoe
Love the shirt, Zoe!
ReplyDelete