
 |
| Recently I made some wall flowers to cover a boring spot in my room. I think it turned out really well, so I thought I'd share how. |
 |
| What you will need is three sheets of paper (any kind), and 9 tacks (I know there are only 8 here). |
 |
| Fold the corner of the paper over.... |
 |
| ..like so. |
 |
| Then cut off the bottom. |
 |
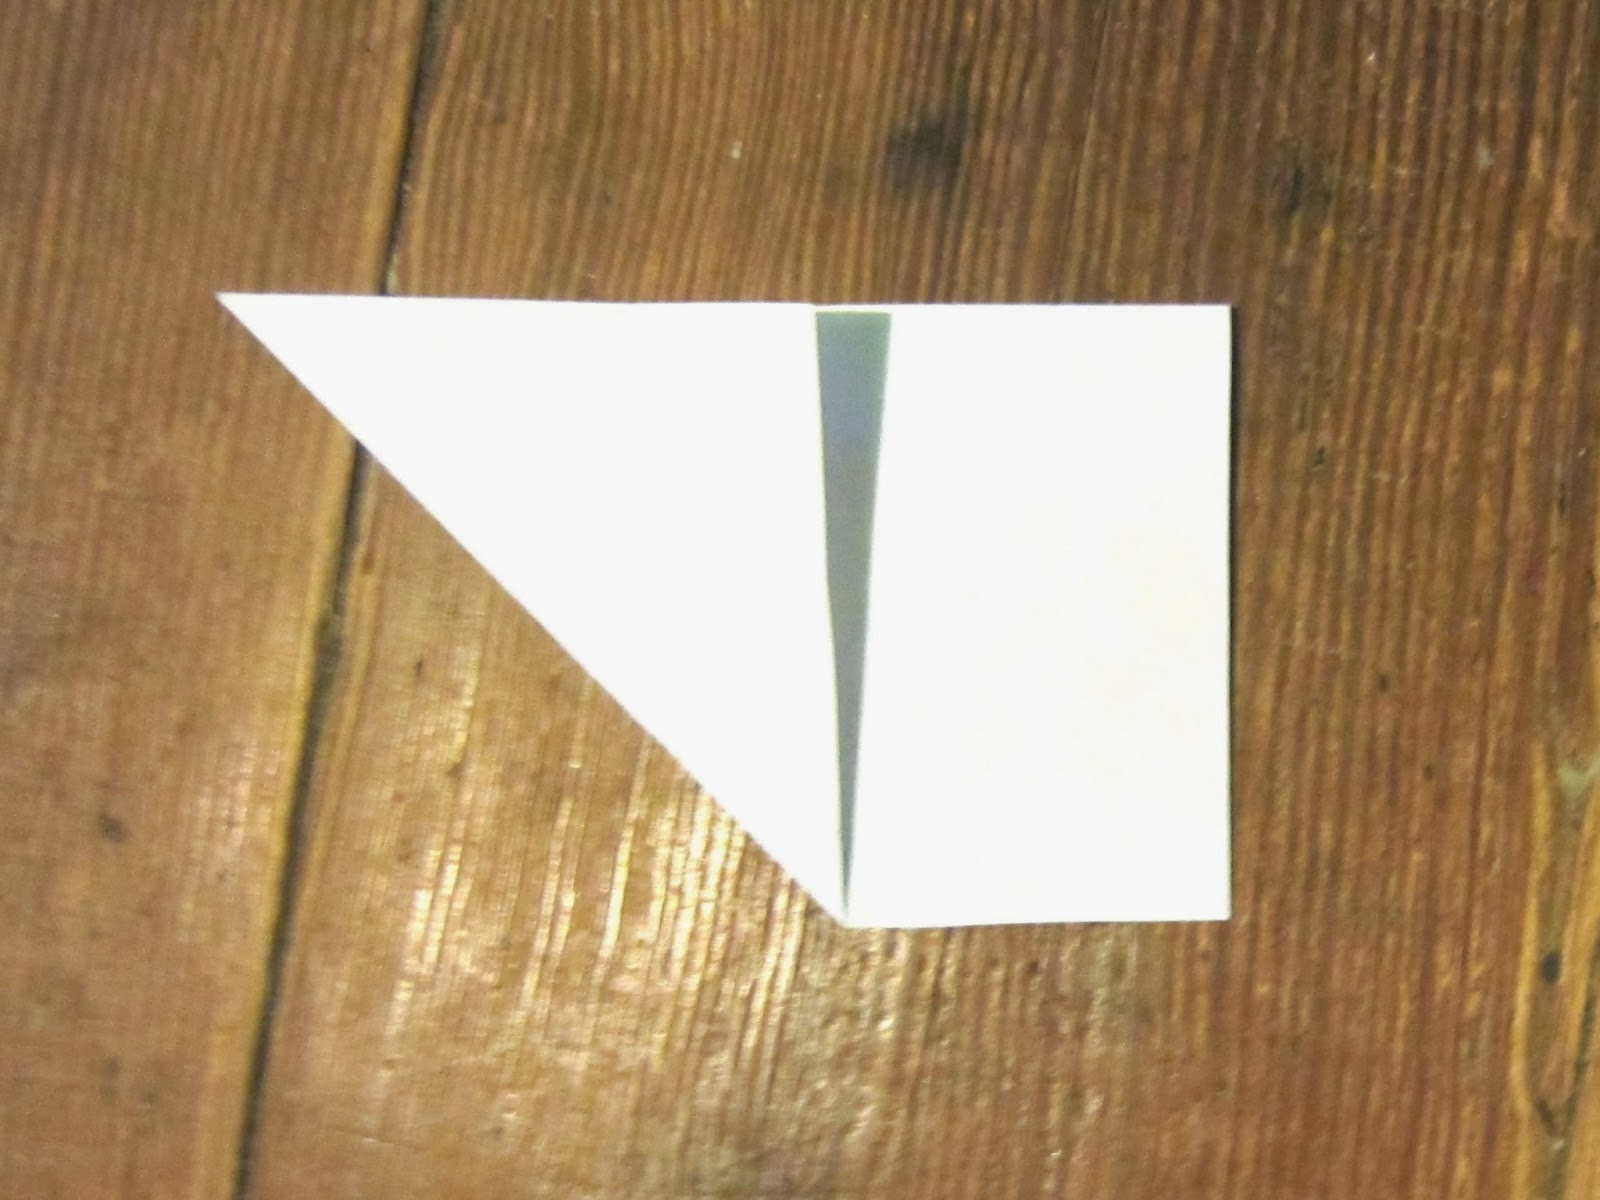
| Fold the right corner to the middle... |
 |
| ..and the left. |
 |
| Then fold in half... |
 |
| ..then in half again. |
 |
| Then cut in a half pedal shape. |
 |
| It will look like a flower when opened. |
 |
| That was the big flower, the next two sheets of paper will give you the medium sized flowers. First fold in half. |
 |
| Fold in half. |
 |
| Then cut off the bottom... |
 |
| ..open.. |
 |
| ..and cut down the middle. Then use the two squares and repeat the step, I showed before. |
 |
| Now take the left over pieces... |
 |
| ...and fold the corners down. |
 |
| Then cut them off,and make them into flowers... |
 |
| ...and do the same for the middle piece. You should get three flowers, from each paper strip. |
 |
| Now you should have 1 big flower, 4 medium flowers, 6 little ones, and 3 really little flower. |
 |
| I took a tack and pushed it through the big flower and one of the really little ones. |
 |
| Then stuck it to the wall, using my owl rock to pound it in (you could,of course, use a hammer). |

 |
| So that one marks the center of the arrangement. Next I put the little flowers over the medium ones, and put them on all four sides of the big one. Then I put the remaining little flowers at the top corner, and the really little ones at the bottom. |
 |
| I think it tuned out pretty cool. I hope this was helpful to you. Please like my Facebook page. And have a great day! |


